
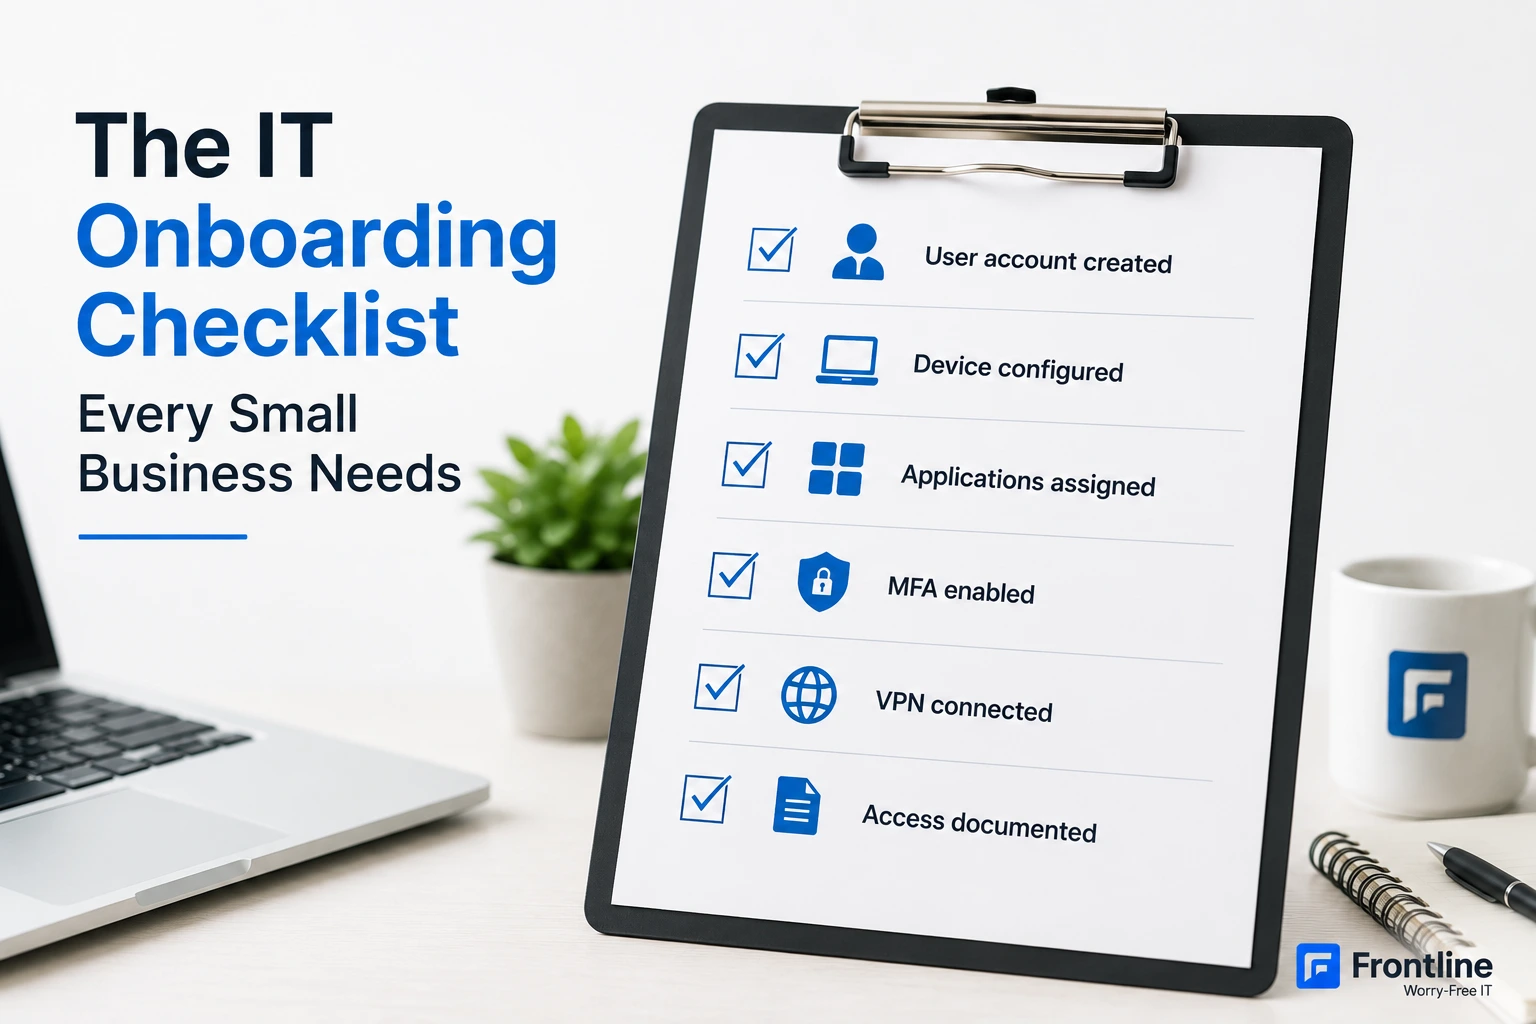
Most small businesses treat IT onboarding as an afterthought. Account creation happens the morning of the start date, device setup gets rushed, and software access is figured out as questions come in. The result is a slower, more disorganized first week than it needs to be.
An IT onboarding checklist fixes that. It turns a reactive process into a repeatable one, ensures nothing gets missed, and means new employees can do their jobs from day one. Here is what should be on it.
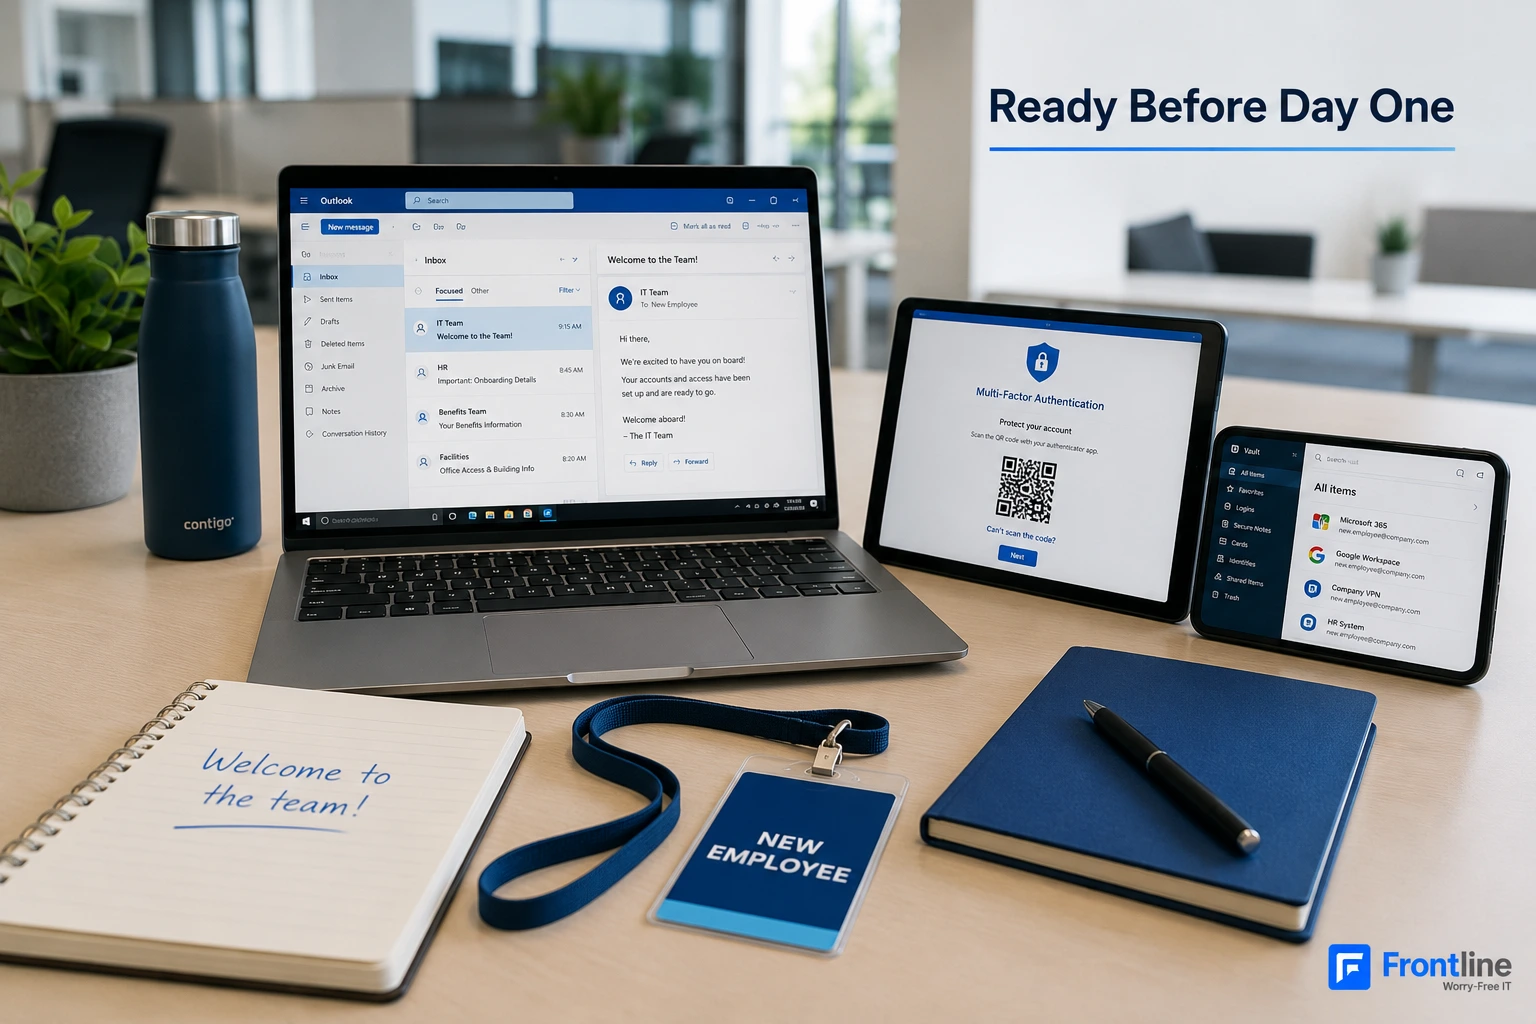
What IT Access Does a New Employee Need?
Before building your checklist, it helps to understand the full scope of what needs to be set up. Most small businesses think about email and stop there.
A complete IT setup covers several areas: a user account in your identity provider, whether that is Microsoft 365 or Google Workspace; a configured device with required software installed; access to shared drives and collaboration tools; security configuration including MFA and a password manager; network access for both in-office and remote staff; and role-specific application access for tools such as your CRM, accounting software, or project management platform.
The goal is to have all of this ready before the employee walks in, not assembled while they wait. Businesses that use a structured managed IT helpdesk can standardize this process and avoid day-one support delays.
The IT Onboarding Checklist: Step by Step
The following checklist is organized in the order tasks should be completed. Steps 1 and 2 happen before the start date. Steps 3 through 6 can be completed the morning of or during a brief IT orientation on day one.

Step 1: Create User Accounts
Complete this 2 to 3 business days before the start date.
The most common mistake in IT onboarding is waiting until the employee arrives to begin account creation. Licensing, group assignments, and administrator approvals all take time.
Before the start date, create the Microsoft 365 or Google Workspace account, assign the business email address, add the user to the correct security groups and distribution lists, assign software licenses, and set a temporary password with a forced reset on first login.
Account setup checklist
- ☐ Create Microsoft 365 or Google Workspace account
- ☐ Assign the business email address
- ☐ Add the user to appropriate security groups and distribution lists
- ☐ Add the user to relevant shared mailboxes or calendar groups
- ☐ Assign software licenses for Microsoft 365, CRM, and project tools
- ☐ Set a temporary password and require a reset on first login
Step 2: Configure the Device
Whether you are issuing a new laptop or reimaging an existing one, device setup should happen before the employee arrives. A staged, configured device is one of the clearest signals that your business runs in an organized way.
Device setup includes installing the operating system and completing all pending updates, joining the device to the company domain or enrolling it in MDM such as Intune or Jamf, installing required software, enabling disk encryption, configuring screen auto-lock, enabling remote wipe capability, and logging the device in your IT asset register.

Device setup checklist
- ☐ Install the operating system and run all pending Windows or macOS updates
- ☐ Join the device to the company domain or enroll it in MDM
- ☐ Install Microsoft 365 apps, endpoint protection, and VPN software
- ☐ Enable BitLocker for Windows or FileVault for Mac
- ☐ Configure screen auto-lock with a 5 to 10 minute timeout
- ☐ Enable remote wipe capability through MDM
- ☐ Add an asset tag and log the device in the IT asset register
This work is easier to repeat when device standards are managed through a consistent managed IT services process rather than configured differently for every employee.
Step 3: Provision Application and Data Access
Complete this on day one.
Not every employee needs access to everything. Assign permissions based on role. This principle of least privilege significantly reduces your security exposure if credentials are compromised.
Grant access to shared drives and folders for the employee’s department only, add them to relevant Teams channels or Slack workspaces, create accounts for role-specific tools, and confirm access levels are appropriate before the end of day one.
Access provisioning checklist
- ☐ Grant access to department-specific shared drives and folders
- ☐ Add the employee to relevant Teams channels or Slack workspaces
- ☐ Create accounts for CRM, accounting, and project-management tools
- ☐ Confirm whether access should be read-only, edit, or administrator level
Step 4: Complete Security Configuration
This step must happen before the employee uses the account for the first time. Enable and enforce multi-factor authentication on all accounts, enroll the user in the company password manager, assign security awareness training, explain your phishing-reporting policy, and confirm endpoint protection is active and reporting.

Security priority
MFA is one of the highest-leverage security controls a small business can enforce for every employee.
Security setup checklist
- ☐ Enable and enforce multi-factor authentication on all accounts
- ☐ Enroll the user in the company password manager
- ☐ Assign a security awareness training module
- ☐ Explain the phishing-reporting process
- ☐ Confirm endpoint protection is active and reporting
Security controls should also be reviewed as part of your broader cybersecurity strategy, especially when new users receive access to sensitive systems.
Step 5: Set Up Network and Physical Access
Provide corporate Wi-Fi credentials while keeping personal devices on the guest network. Configure VPN access for remote staff, set up printers and shared peripherals, and provide physical access such as a badge or door code when required.
Network access checklist
- ☐ Provide corporate Wi-Fi credentials
- ☐ Keep personal devices on the guest network only
- ☐ Configure VPN access for remote work
- ☐ Set up printer and shared peripheral access
- ☐ Provide physical access such as a badge or door code
A properly segmented network and reliable business Wi-Fi are part of secure onboarding. Frontline’s network support services help small businesses separate corporate, guest, and remote access appropriately.
Step 6: Document Everything
This is the step most businesses skip and the one they regret most during offboarding. Record every account created and license assigned, the device issued with make, model, serial number, and asset tag, the data access granted and permission level, and the date of setup with the technician’s name.
When the employee eventually leaves, this record becomes your offboarding checklist: every account to deactivate, every device to retrieve, and every permission to revoke.
Organized vs. Rushed IT Onboarding

The difference is visible immediately. In a rushed process, the employee waits for updates, asks repeatedly for access, and loses productive time. In a prepared process, the device is configured, email works, MFA is enabled, and role-specific tools are ready before the first task begins.
How Long Should IT Onboarding Take?
For a single new hire, a properly organized IT onboarding process usually takes 2 to 4 hours of IT time, with most of the work completed before the start date.
On day one, the employee should spend approximately 30 to 45 minutes on IT orientation: first login, MFA enrollment, confirming access, and completing security training.
If onboarding routinely takes longer than this, or new hires are still missing access on day two, the process needs to be formalized. A repeatable checklist is the fix.
The Cost of Getting IT Onboarding Wrong
Poor IT onboarding is more expensive than it looks. A new employee who cannot access their tools on day one loses productive time, often 4 to 8 hours during the first week while access problems are resolved. Multiply that by your annual hiring volume and the cost adds up quickly.
More seriously, an onboarding process that skips security setup, such as MFA, password management, endpoint protection, or proper permission controls, creates vulnerabilities that may be exploited months later, long after anyone remembers what was missed on the first day.
Let Frontline Handle IT Onboarding for You
A well-executed IT onboarding checklist protects your business and sets the right tone with new employees from day one. The best time to build one is before you need it, not the Sunday evening before a Monday start date.
Frontline manages IT onboarding for small businesses across Los Angeles. We handle account creation, device setup, security configuration, access provisioning, and documentation, so your HR team can focus on the welcome package.
Ready to Make IT Onboarding Seamless?
A 30-minute conversation is enough to review your current onboarding process and identify the steps that should be standardized before your next hire.
Book a 30-minute consultation